
A small triangle in the lower-right corner of a button is your clue that other tools are available but hidden under that too.
Step 1 :
Position the pointer over the second tool from the top in the Tools panel until the tool tip appears. The tool tip identifies the Rectangular Marquee tool with the keyboard shortcut M. Select that tool.

Step 2 :
Select the Elliptical Marquee tool,which is hidden behind the Rectangular Marquee tool, using one of the following methods:
• Press and hold the mouse button over the Rectangular Marquee tool to open the pop-up list of hidden tools, and select the Elliptical Marquee tool.
• Alt-click (Windows) or Option-click (Mac OS) the tool button in the Tools panel to cycle through the hidden marquee tools until the Elliptical Marquee tool is selected.
• Press Shift+M, which switches between the Rectangular and Elliptical Marquee tools.
Step 3 :
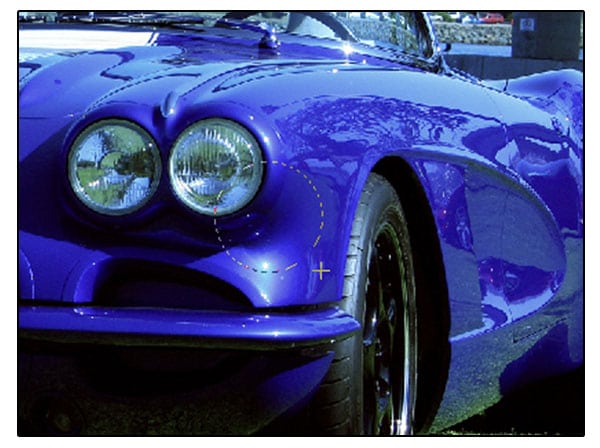
Move the pointer over the image window, to the first headlight. When the Elliptical Marquee tool is selected, the pointer becomes cross hairs (+).
Step 4 :
Drag the pointer down and to the right to draw an ellipse around the headlight, and then release the mouse button. An animated dashed line indicates that the area inside it is selected. When you select an area, it becomes the only editable area of the image.The area outside the selection is protected.
 Step 5 :
Move the pointer inside your elliptical selection so that the pointer appears as an arrow with a small rectangle.
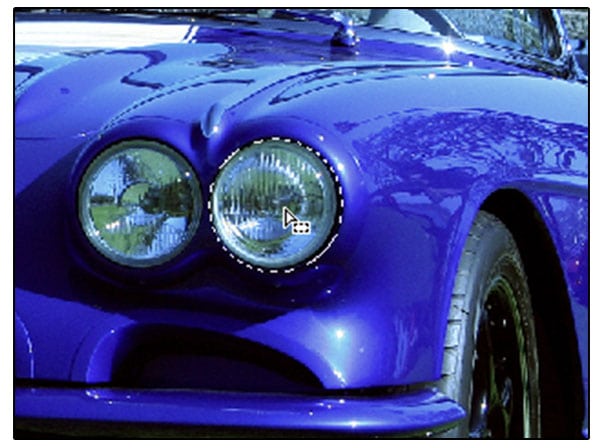
Step 6 :
Drag the selection so that it is accurately centered over the headlight.
Special Thanks to Tutorial Board
0 comments:
Post a Comment